

Laptop discoloration can occur over time from normal wear and tear, making your device appear dirty, stained, or generally unpleasant to look at. While the reasons for laptop discoloration vary, the good news is that there are several quick and easy methods to restore its appearance. With a bit of effort, you can have your laptop looking bright and vibrant again.
What Causes Laptop Discoloration
Understanding the common culprits behind laptop discoloration can help you pinpoint solutions tailored to your specific situation. Here are some of the most prevalent causes:
Oils from Your Hands
It’s normal for the oils on your hands to accumulate on your laptop’s surfaces over time. Areas you frequently touch when typing and moving the device around, like the palm rests, touchpad, edges, and bottom, tend to show the most discoloration from this. It manifests as a greasy, yellowish stain.
Dust Buildup
Dust is ubiquitous, so it invariably finds its way into the nooks and crannies of your laptop. This causes a dingy, greyish discoloration on the vents, ports, crevices, and other areas dust accumulates.
Smoke or Vape Residue
If you smoke cigarettes or vape near your laptop, the airborne residues settle on the device, leaving behind yellowish to brown stains. These stubborn stains can be challenging to remove.
Dirt and Debris
General dirt and grime in your environment also eventually work their way onto your laptop’s exterior, dulling the surfaces. Laptop bags often transfer a lot of debris onto devices during transport.
Liquid Spills
Accidental drips and spills from beverages, oils, lotions, etc. can stain your laptop if not thoroughly cleaned up immediately. These stains come in many colors and are often sticky residues.
UV Exposure
Over time, ultraviolet rays from sunlight cause pale plastics and polymers to yellow. So natural discoloration accumulates slowly if you frequently use your laptop outdoors or near sunny windows.
With so many potential discoloration culprits, most laptops end up with some degree of staining and dirt buildup. Thankfully fixing these aesthetic issues is more straightforward than troubleshooting hardware or software problems.
General Cleaning Solutions
The first step towards restoring your laptop’s original color and shine involves general external cleaning. Begin by gathering the appropriate supplies:
- Microfiber cloth
- Q-tips
- Cotton pads
- Isopropyl alcohol
- Distilled water
- Compressed air
Then follow these basic cleaning procedures:
- Power off and unplug your laptop. Remove any attached peripherals too.
- Use compressed air to blow away dust and debris from the ports, vents, gaps, and other tight areas. Don’t tilt the can during use or let any liquids escape.
- Dampen a soft microfiber cloth or cotton pad with isopropyl alcohol diluted with an equal part distilled water. This creates a 50/50 cleaning solution.
- Gently wipe down all visibly discolored areas with the dampened cloth. Take extra care around any vents and openings to avoid liquid seepage.
- Use dry microfiber cloths or cotton pads to absorb any remaining moisture. Be very thorough, as you don’t want liquid trapped inside your laptop.
- If any sticky residue remains, dip Q-tips in isopropyl alcohol and gently rub the affected areas. Take your time and use minimal pressure.
- Finish by using compressed air again to ensure no dust was transferred inside during cleaning.
For most minor to moderate discoloration without actual staining, these methods effectively restore laptops to a cleaner, more vibrant appearance. But some stubborn stains require additional techniques.
Removing Stubborn Stains
Certain stains penetrate surface layers, bonding to plastics and polymers on a molecular level. These require solvents capable of dissolving the stubborn residues. Some proven options include:
White Vinegar
White vinegar’s acidic properties excel at breaking down residues from vaping, smoke, oils, adhesives, minerals, and more. Dip a microfiber cloth in undiluted white vinegar and gently rub stained areas for 30-60 seconds. Avoid getting vinegar in ports or vents. Rinse afterward with a lightly damp cloth.
Baking Soda
Baking soda works similarly to vinegar but also functions as a very mild abrasive. Make a paste by sprinkling baking soda on a damp microfiber cloth folded in your palm. Gently rub on stained areas using small circular motions until visual improvements occur. Wipe away all paste residue with clean cloths dampened with distilled water.
Water & Toothbrush
For tough dirt and grime concentrations in crevices and textured areas like vents and speaker grilles, use an old toothbrush, distilled water, and moderate elbow grease. Dip the toothbrush in water and gently scrub the dirty areas, dislodging debris. Wipe with a dry cloth.
Adhesive Removers (Goo Gone)
Sticky residues from adhesives, labels, stickers, or tape respond well to adhesive removers. Look for solvent-based options explicitly labeled safe for plastics. Apply a small amount to stained areas and let it penetrate for 30-60 seconds. Gently rub with a cotton pad, reapplying remover as needed. Use damp & dry cloths to finish.
These solutions cover most stain types you’ll encounter. But avoid harsh chemicals and abrasives that could further damage laptop surfaces. Acetone, bleach, scouring pads, and similar products often do more harm than good. Contact a repair professional for any mystery stains too risky to tackle yourself.

Fixing Discolored Palm Rests
Palm rests endure some of the most intense wear. Friction and oils quickly stain the soft-touch coatings on many laptops’ built-in rests. Luckily, you can renew their appearance with these steps:
- Remove the battery if possible. This avoids electrical shorts during cleaning.
- Liberally apply isopropyl alcohol across the entire palm rest surface using a damp cotton pad.
- Sprinkle a thin layer of baking soda over the dampened area and gently rub it into the discolored coating using a dry microfiber cloth. Apply light pressure with small circular motions.
- Once visual improvements occur, wipe away all baking soda residue with a clean damp cloth. Dry thoroughly with a microfiber cloth.
- Apply a plastic-safe vinyl/rubber UV protectant to replenish the coating and prevent further discoloration. Spray a light mist across the palm rest from 8-10 inches away. Buff gently with a dry cloth.
These steps lift staining from friction and oils to significantly improve appearance. Rejuvenating sprays also help guard against future wear and yellowing.
Touchpads and Keyboards
Keyboard keys and touchpad surfaces also fall victim to frequent handling. Clean them safely with these best practices:
Keyboards
- Use a can of compressed air held at an angle to blow debris out from between and underneath keys.
- Wipe down the tops of keys gently with a microfiber cloth very lightly dampened with distilled water. Avoid letting any moisture drip below the keys.
- After drying, use cotton swabs dipped in isopropyl alcohol to rub the sides and bottoms of soiled keycaps. Twist and pivot keys if possible to access undersides.
- Finish by blowing away any detached grime with compressed air. Reseat keys pressed too hard.
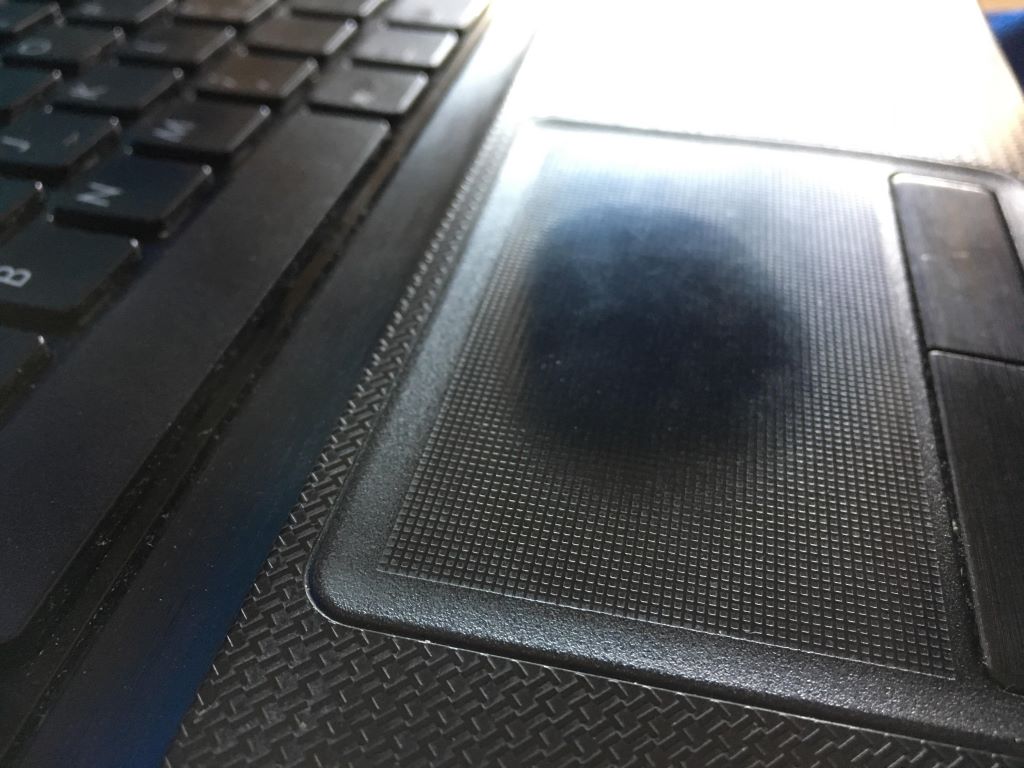
Touchpads
- Prepare a solution of equal parts white vinegar and distilled water. Dip a soft microfiber cloth and wring out well so it’s only damp.
- Wipe the touchpad surface to lift oils and dirt. Apply gently to avoid damaging components underneath.
- Dry immediately with a clean microfiber cloth. Buff lightly.
- If any stickiness remains, use undiluted isopropyl alcohol sparingly on a cotton pad.
- Avoid moisture seeping under the touchpad edges.
With this level of care, you can restore keyboard lettering and bring back the responsiveness and glide to worn touchpad surfaces.
Preventing Future Discoloration
An ounce of prevention is worth a pound of cure when maintaining your laptop’s appearance over time. Implement these habits to keep further grime, stains, and wear at bay:
- Always completely dry your hands before handling your laptop. This minimizes oily residues transferring from your skin.
- Store and transport your laptop in a protective case or sleeve. Soft inner linings help prevent scratches and scrapes.
- Use laptop stands and external keyboards/mice whenever possible. Reducing direct contact preserves your laptop’s own input devices.
- Refrain from eating or drinking around your laptop to prevent spills and food grime accumulation.
- Shut down, unplug, and move your laptop away from areas where you smoke or vape. The airborne chemicals stain plastics and coatings.
- Periodically use compressed air to blast out ventilation intakes and other dust magnet areas. This maintains adequate airflow.
- When cleaning screens, use only soft microfiber cloths dampened with distilled water or a plastic-safe LCD cleaning solution. Avoid spraying liquids directly onto screens.
- Every 6 months, give your laptop a thorough deep cleaning using the methods outlined earlier. This prevents staining and yellowing from getting out of hand.
With conscientious handling and regular maintenance cleaning of your laptop, you can keep it looking fresh and vibrant for years to come.
FAQs
Can toothpaste remove stains from a laptop?
No, avoid using toothpaste to clean laptop surfaces. While effective for polishing teeth, toothpaste contains abrasives harmful to plastics. Opt for plastic-safe cleaners instead.
What natural ingredients work to clean laptop stains?
White vinegar, baking soda, and distilled water create all-natural cleaning solutions powerful enough for most laptop stains without adding chemicals. Lightly damp cloths work best for application.
How can I get rid of smoke or nicotine stains on my laptop?
Smoke and nicotine stains require solvents to break down and dissolve the residues. Isopropyl alcohol, white vinegar, or adhesive remover (Goo Gone) work well. reapply multiple times if needed. Avoid harsh scrubbing.
Are magic erasers safe for cleaning stained laptops?
Magic erasers contain abrasives that risk permanently scuffing and dulling plastic casings. Instead, use non-abrasive cleaners with soft cloths to lift stains safely.
What should I do if my laptop has a yellow tint from sun exposure?
UV exposure naturally yellows light plastics over time. Removing the discoloration requires refinishing the plastic. Professional device refurbishing services can safely resurface yellowed portions and match original hues.
Conclusion
Laptop discoloration doesn’t have to be a source of embarrassment or distraction. In most cases, the stains and worn appearance come out with a little time and effort. Just be sure to use plastic-safe cleaners and gentle techniques tailored to your specific stains. Implement daily preventive habits like regularly wiping down surfaces and always keeping your laptop stored in a protective case. With this level of care, your laptop can maintain a like-new appearance for years before needing professional cosmetic refurbishing, helping you avoid common problems that can occur with laptops. So don’t despair the next time you notice mysterious scuffs or stains – simply break out the cleaning supplies!
Tags: display adjustments, fix laptop screen, laptop discoloration, laptop display issues, laptop screen repair, quick solutions, screen color problems, tech tips, troubleshooting, visual glitches

Leave a Reply